A Voice Alias is a way to store how your voice is morphed so the same
settings can be used later. This tutorial
will take you step by step through the creation of a custom alias.
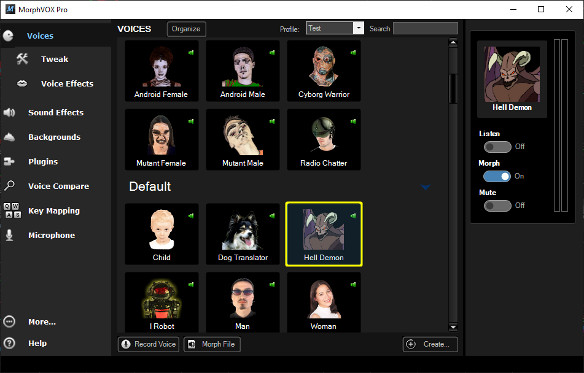
1. The best way to create an Alias is to start with an existing
one. First, select an alias. In the example below it is "Hell Demon."
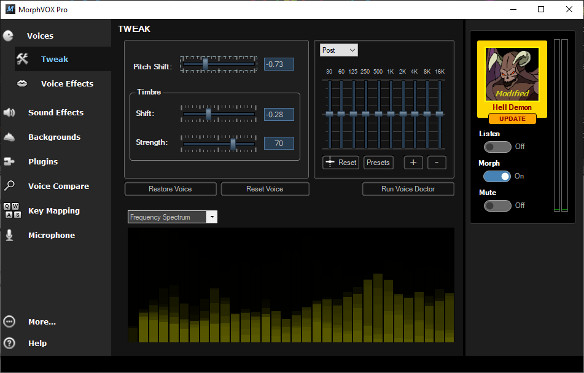
2. Turn duplex on so you can hear and test out your tweaking.
3. Move the Pitch, Timbre and Timbre
Strength sliders so your voice comes out as desired.
4. Save these settings by selecting either the "Tools: Voice Alias:
Update Alias" menu item to immediately save the changes or choose the "Tools: New Alias
From Current Settings" menu item to create a new Alias.
Another convenient way of saving changes to an alias is by clicking on the
''Update Alias" button in the main window.
5. If you choose to create a new voice alias, an Alias Wizard dialog wil appear
after choosing that option. The first panel in the wizard introduces you
to the Alias wizard. Click next.
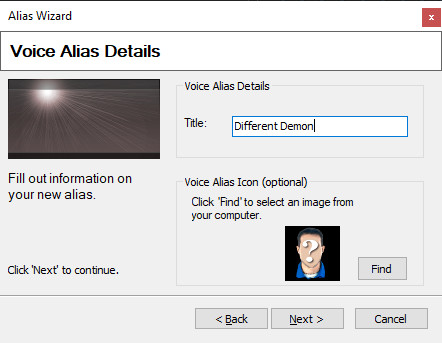
6. The next panel lets you type in the name of the new alias and assigns
a picture to appear when the alias is selected. Picture icons can be
.png, .jpg or .gif. For optimal display quality it is best to use 128 X
128 pixel size images. An icon is not required.
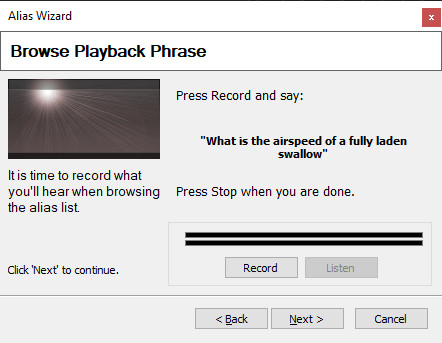
7. The final settings panel records the alias phrase. This is the
sound you hear when you press the play button next to the alias. If you
don't like the suggested phrase you can make up your own.
8. You are done!
After the final panel your new alias will appear in the list under the "bsp;If for some reason you'd like to delete the
alias, just right click on the alias and select "Delete Alias". You
can also click on the alias and from the "Tools" menu
select "Delete Alias".
This site uses cookies and other similar technologies to provide site functionality, analyze traffic and usage, and deliver content tailored to your interests. Learn More